An easy recipe for Cherry Scones that doesn't need an egg. Serve with butter (or cream and jam) for a teatime treat for the whole family.
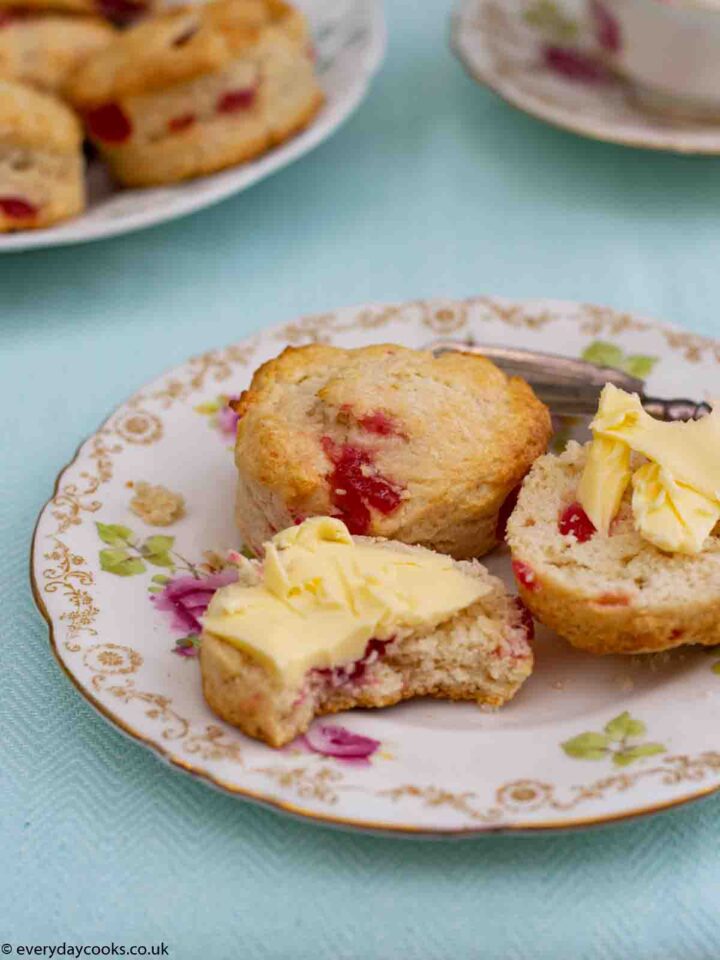
One of the best things about homemade scones is that they are so quick and easy to make and taste delicious straight from the oven. Even those, like these Cherry Scones, that are individually cut out, only take 20 minutes at most.
And of course, I love cherries, so a Cherry Scone recipe is a perfect addition to the cherry bake collection.
Key ingredients in Cherry Scones
Cherries
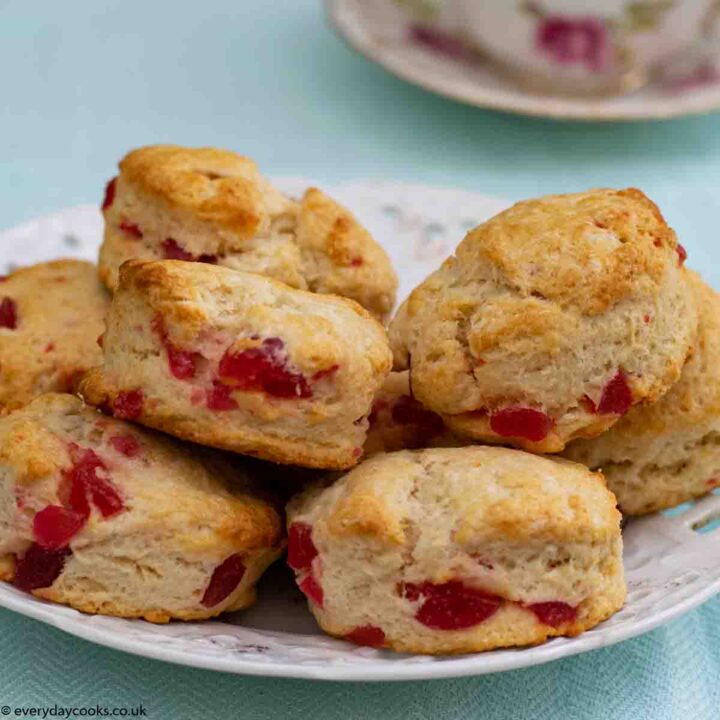
Although I usually use dark cherries, this time I could only get red ones. The taste isn't really different and the colour is pretty. My only warning, as always, is to check for natural dyes if you have children as E127 isn’t recommended for them.
No egg
Some of the scone recipes I make use eggs (usually if they use whole-wheat flour, e.g. Wholemeal Fruit Scones), but most don't. It's always useful to have some egg-less recipes for those times when you've run out but still want cake.
Salt
Is salt a key ingredient? Well, yes, I think so. A little salt enhances flavour, especially useful with something fairly plain like a scone - even if it does contain cherries.
Although we're bombarded with messages about reducing salt, that's mostly because there's loads of it in ready-made food. (If you're interested, read Salt, Fat, Acid, Heat by Samin Nosrat for more information)
Ring the changes
Use raisins or other dried fruit instead of cherries to make fruit scones.
Secrets of success
Use frozen butter
I now use frozen butter in scones and grate it. Top tip: grating around the outsides is easiest as the centre is pretty solid. If your butter isn't frozen, use it straight from the fridge and cut into small chunks.
Why use frozen butter? Two reasons: first, the dough keeps cooler; second, (and more importantly for me) it makes the rubbing-in process quicker because the butter is in smaller pieces.
Don't roll-out the dough
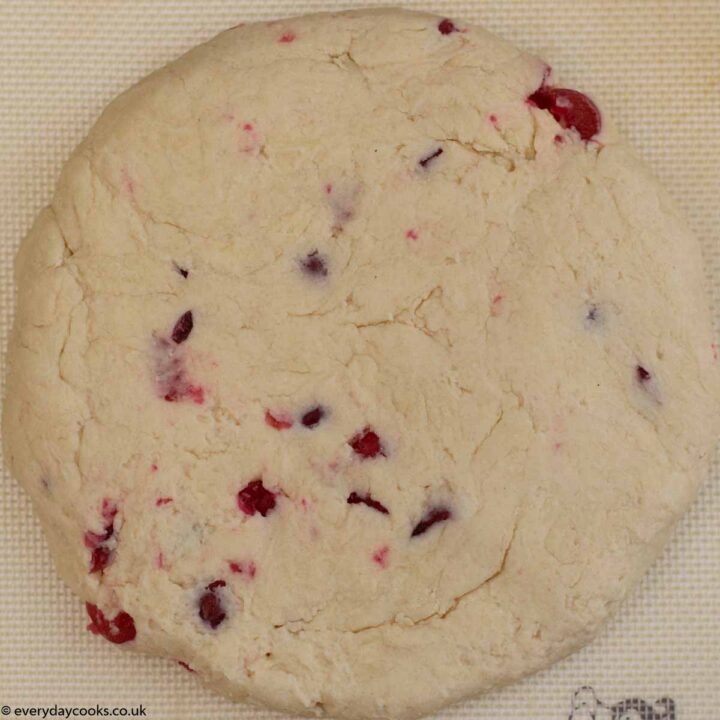
You want to handle scone dough as little as possible, so don't roll it out. Just form into shape and pat the top level.
Make the scones thick
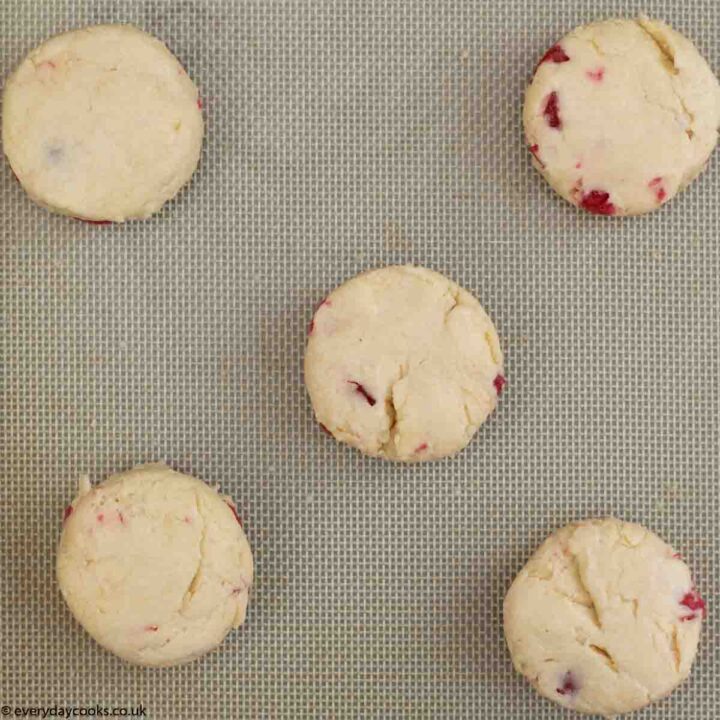
Keep the dough at least 2cm (1 inch) thick, which will make about 10 scones. Ideally make it a little thicker and make 8 scones.
How long do scones keep?
All scones are best eaten on the day they're made. They will keep for a couple of days in an airtight container in the fridge. Refresh in the oven for 4-5 minutes or the toaster for a minute.
Can I freeze Cherry Scones?
Scones freeze well for up to a month. Best frozen on the day they're made.
What equipment do you need?
- You'll need a 5-6cm round cutter (about 2 inches across). I use a plain cutter because the cherries can snag on a fluted cutter - but that's a personal preference.
- A baking sheet is also needed - if you cut the scones a bit thinner you'll probably need two baking sheets
- I use a silicone baking mat for cutting out and as a liner for the baking sheet. It's non-stick and easily washable (easier than the baking sheet!). A piece of magic liner
If you like this...
...Why don't you try:
Fruit Tea Scone
Blackberry Scones
Cheese Scones
Stockists
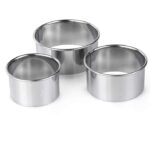
Tala Stainless Steel Pastry Cutters
Buy Now → Buy Now →
  Buy Now →
 Pin for later
Hover over any picture on the page and hit the Save button to pin the image to one of your Pinterest boards.

Recipe
Cherry Scones
Ingredients
- 250 g self-raising flour, plus extra for rolling out
- ½ teaspoon salt (2.5ml)
- 50 g butter, frozen. See note
- 50 g caster sugar
- 80 g glacé cherries
- 150 ml milk
Equipment
Instructions
Preparation:
- Preheat the oven to 220°C/ 200°C fan/ gas mark 7/ 425°F
- Grease the baking tray with a little butter or use a liner (which you don’t need to grease)
- Sift a little flour onto your worktop or rolling out mat
- Roughly chop the cherries into quarters
To make the scones:
- Mix the flour and salt in a large mixing bowl. Grate the butter into the mixture and rub it in with your fingertipsTo rub in, have your palms up and move your thumbs over fingers from the little fingers inwards
- Stir in the sugar and cherries. Add the milk and combine to make a smooth dough. Use a knife and then your hands
- Transfer the dough to the floured surface and pat with your hand to make a level top, at least 2cm thick
- Cut out the scones and move to the baking sheet. Pull the remaining dough together and repeat until all the dough is used
- Brush the tops of the scones with milk or sprinkle with a little flour
- Cook for 12-15 minutes until golden. Cool on a wire rack
- Serve with butter.
Notes
Everyday Cooks tips:
Butter:
If your butter isn't frozen, use it straight from the fridge and cut into small cubesStorage:
- Scones are best eaten on the day they are made, but will keep for a couple of days in an airtight container in the fridge. Refresh in the oven for 4-5 minutes or the toaster for a minute
- They freeze well for up to a month







Jo says
I made these scones for my kids. They love them. Easy recipe. I can get about 12 scones out of them. Easy to make when not a lot of baking ingredients in.
I have also tried with raisins instead of cherries and this was also a hit.
Frozen butter works better.
Susie Collings says
Hi Jo, Glad you like them 🙂 Raisins are good too.
Pauline says
How many scones does this recipe make please
Susie Collings says
8 scones.
Diane Elgie says
This is the best cherry scones recipe that I've tried. I used plenty of flour on my work surface and on my hands during the kneading process. Delicious. A neighbour wants me to make some more!
Susie Collings says
Hi Diane, Glad you like them. Lucky neighbour 🙂
siouz says
This recipe is far too wet! Have made many scone recipes but although I reduced milk to 120ml it still came out sloppy and needed a good 80 g of flour to get even half consistency to roll out. I made it in a mixer so it didnt get over handled and butter was chilled but not grated maybe thats wwhy?/ Dissapointed recipe although eventually came out edible
Susie Collings says
Hi Siouz, I'm not sure what's going wrong for you but 250g flour with 150ml milk is what I use for all my scone recipes. I'm not quite sure what the 80g flour is for?
Joanne says
Made these lastnight for a guest. They are devine thank you for your recipe...
Susie Collings says
Hi Joanne, Glad you like the scones 🙂
Jodie says
150ml milk = 2/3 cups works alot better.
TODDLERSNACK says
Thanks for this amazing recipe, could I add it to my website?
Janice says
Excellent. One hint...when I place them on the baking tray I allow them to touch each other. I used to space them out and the scones fell over a bit. Not only does placing them next to each other and slightly touching stop this happening but I find they are more moist.
Veronica says
I make scones now and again during the summer but have never seen nor heard of putting cherries in scones. Made some today. What a great idea. Unbelievably good. So different and so special (to me anyway).
I enjoy all your tips and all the little comments you add. I feel that you are an old friend talking to me. Silly but it's true !
Susie Collings says
Hi Veronica, There's always something special about cherries for me :). So pleased you liked them and thank you for your kind comments - it makes it all worth while. It's lovely to think of writing for friends 🙂 Cheers - Susie
Tracy says
Absolutely gorgeous scones, great recipe thank you for sharing!
Debbie says
Nicest cherry scones I've ever tasted
Susie Collings says
Aww thanks 🙂 So pleased you like them. Cheers - Susie
Wendy says
I am not a great pastry maker. Do you think your tip about grating butter would work for making pastry too ? Thanks.
Susie Collings says
Hi Wendy, Absolutely! Frozen butter keeps the dough cooler, which is the key with pastry. I'm not good at pastry either so now make mine in a processor, which is just about foolproof. Even if you don't have one, have you tried making quiches without rolling out the pastry (which is my worst thing)? This recipe for Pate Brisee - pastry for quiches shows you how to do that. Also, the recipe uses an egg yolk which binds the pastry together better and makes it easier to work with.
Let me know if you try it. Cheers - Susie
Wendy says
Thanks Susie. I will give it a go at the weekend.